Pull requests: love them or hate them, they’re an essential part of collaborative development. Yet for many developers, they can be a frequent source of frustration. If you’ve worked on a project long enough, you’ve likely seen code review complaints crop up in sprint retrospectives, often revolving around the same recurring issues:
- Waiting too long for someone to review your PR.
- The time commitment needed to review others’ PRs.
- Endless back-and-forth debates over whether the code is "good enough."
It’s no surprise that code reviews can sometimes feel like a distraction from shipping features. But when done right, pull requests are more than just a necessary process—they’re a chance to collaborate, learn from each other, and improve the quality of your codebase.
In this post, I’ll share tips for creating pull requests that are easier to review, reduce friction, and boost team efficiency.
1. Start with a clear title
Your PR title is the first thing reviewers see, so make it clear and concise.
👍 Fix login bug when using special characters
👎 login fix
Scanning through a list of PRs, a descriptive title helps reviewers quickly understand the purpose of your changes. It also makes it easier to search for and reference the PR later.
2. Explain why this PR is necessary
Link to the issue, user story, or design that this PR addresses. This helps reviewers quickly understand the purpose of the changes and why they’re necessary.
Providing this context isn’t just helpful for reviewers—it’s also invaluable for future developers. When someone stumbles upon this block of code six months down the line, they can trace it back to the original PR and the issue or story that inspired it.
3. Summarize your changes
Start your PR description with a brief summary of your changes, explaining your approach and reasoning. Highlight why you chose a specific method or design pattern to help reviewers provide better feedback.
This PR implements a search bar component. I chose to debounce the API calls to minimize unnecessary requests. Let me know if the implementation feels too aggressive."
A clear summary can also help catch mismatches between your explanation and the code, uncovering potential bugs early.
4. Keep PRs small and focused
Small, single-problem PRs are easier to review and merge. If you’re working on a large feature, break it into smaller, more manageable pieces.
Be explicit about what’s covered in the current PR and what will follow in subsequent ones.
For instance:
- This PR: Implements the UI for the search bar.
- Next PR: Integrates the search bar with the backend API.
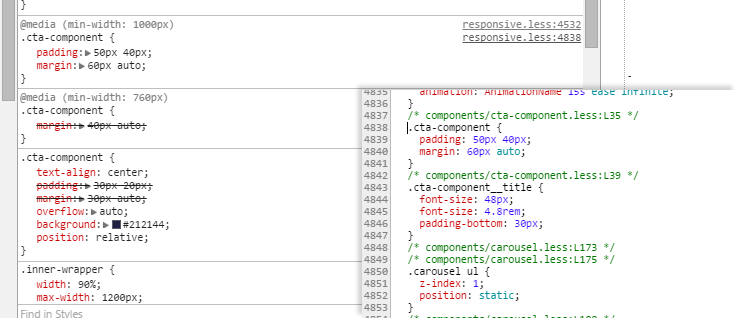
5. Add screenshots
Show, don’t just tell! Adding screenshots, gifs, or videos of your changes makes it easier for reviewers to understand the impact of your work without needing to run the code.
For example, if you’ve worked on a front-end feature, include a screenshot of the updated UI. If it’s a backend feature, consider sharing the API response that demonstrates the change.
6. Highlight areas for feedback
If there are parts of the code where you’re uncertain, call them out in the PR. Reviewers appreciate being pointed to areas where their expertise or opinion is needed.
For example:
- "I'm not sure if the error handling logic in
fetchData is robust enough. Any suggestions?"
- "Let me know if you think this CSS hack is too brittle—open to alternatives."
This not only focuses reviewer attention but also demonstrates openness to collaboration.
7. Automate where possible
Leverage tools to reduce the manual effort for both authors and reviewers:
- Pre-commit hooks: Automate linting and formatting before code is pushed.
- CI/CD pipelines: Ensure your PR passes tests and builds successfully before review.
- PR templates: Use templates to standardize PR descriptions, ensuring all key information is included.
By following these tips, you can make your pull requests a pleasure to review, foster better collaboration with your team, and improve the overall quality of your codebase. Remember, great pull requests save time for everyone—your future self included!
]]>